Custom Circle Skirt Sew Mama Sew Giveaway

IT'S THE SEW MAMA SEW GIVEAWAY DAY!
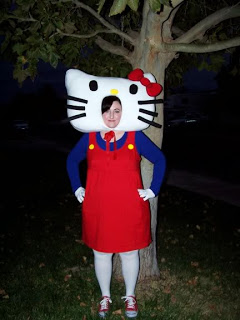
For those of you who are new to Betty Rockit, hi! I'm Lizz, aka Betty Rockit and I'm an actor, marketing pro, and crafter. Welcome to the site, I'm happy you found your way here! Now, for the giveaway!

MayGiveawayDay.jpg
2014-05-11 10.00.54 1.jpg
2014-05-11 10.14.39 1.jpg
2014-05-11 10.14.20 1.jpg

THE GIVEAWAY

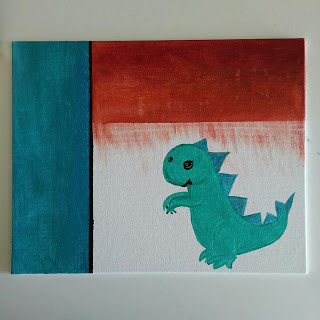
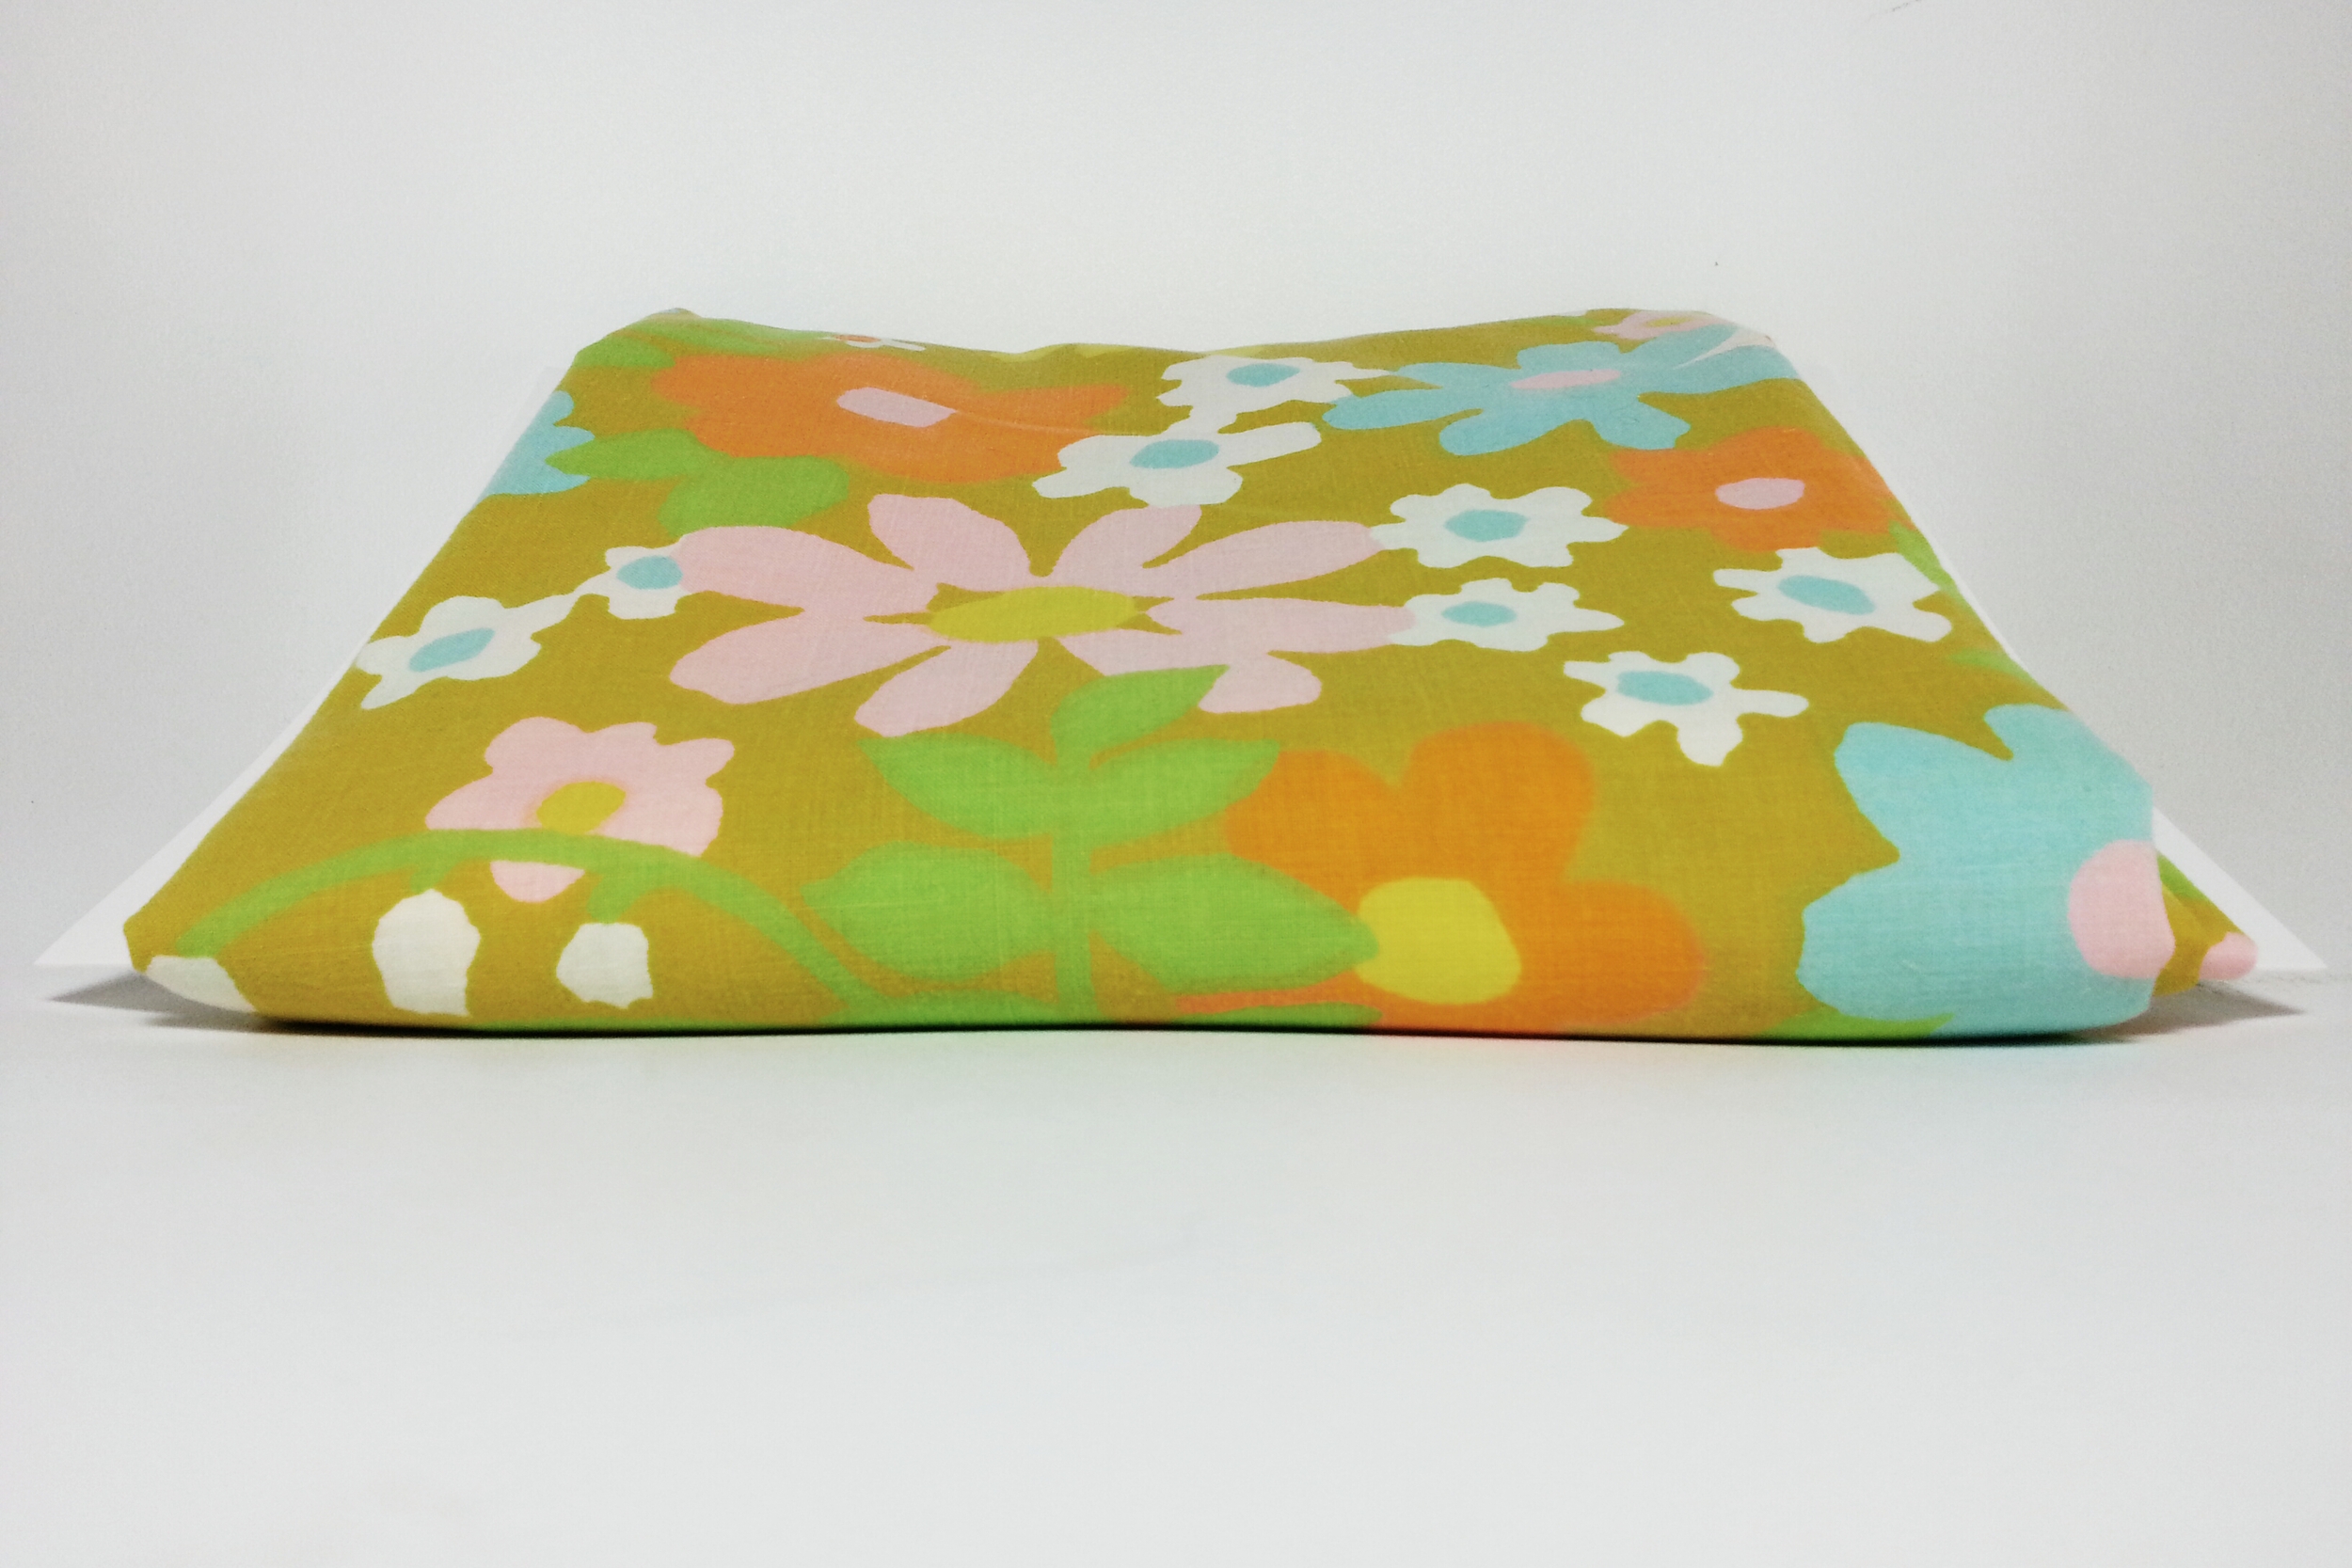
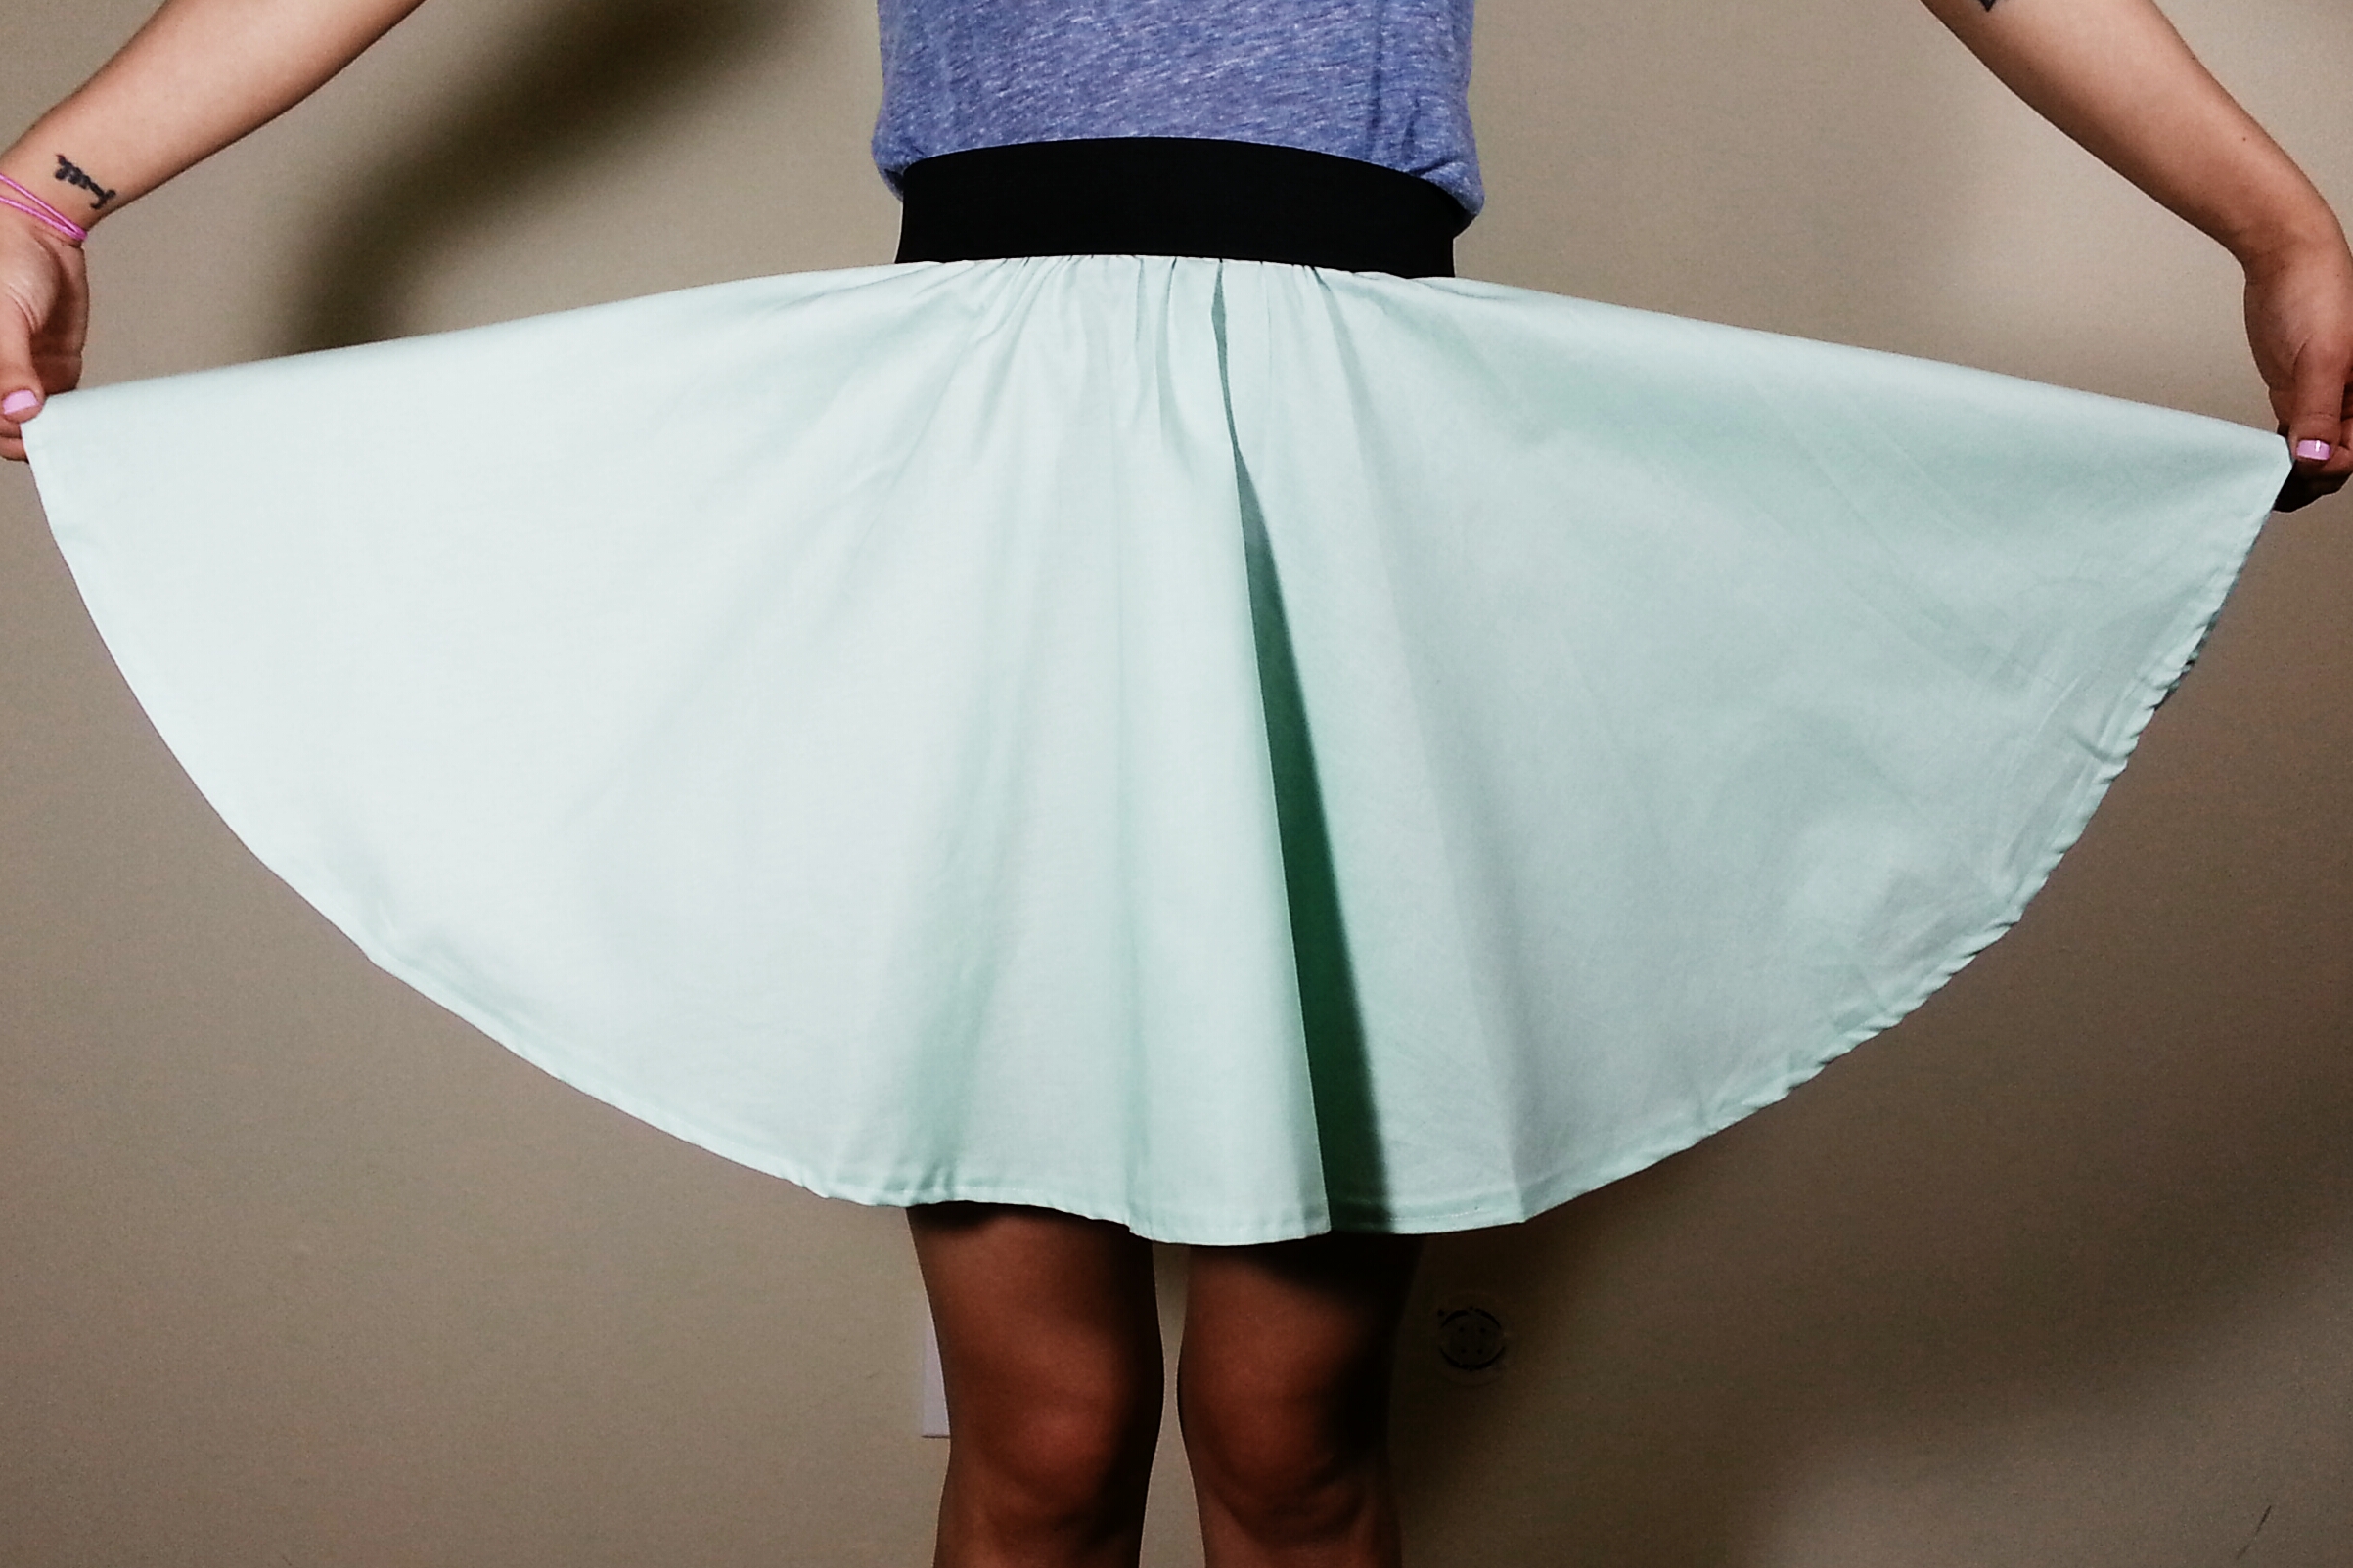
Enter to win a custom made circle skirt made of this fantastic vintage sheet fabric. What do I mean by custom? Well, I haven't made it yet, because I need YOUR measurements! I love this skirt pattern and have sewn several for myself, including the above pictured mint green skirt, and the dinosaur skirt featured in the previous post!

HOW TO ENTER

Just leave a comment with your favorite vacation spot! I can't contact you without an e-mail, however, so make sure if you are a guest commenter you include your info!

Anyone can enter, and I'll ship internationally. The giveaway is open all week until the end of day on Sunday the 18th. I will then choose a winner using a random number generator!

EXTRA ENTRIES

If you are a blog follower you get a second entry! Just leave a second comment letting me know you're a follower!

You can also gain optional additional entries if you are a twitter follower, instagram follower, Pinterest follower, or if you like the Betty Rockit Facebook page. Leave a comment letting me know which one(s) you follow.

That's a total of 3 possible entries! Yay!

I look forward to reading all your comments!

Cloudy Cushion How To

 I've been seeing so many cute cloud and raindrop pillows and cushions on pinterest lately so I decided to make some of my own. Each cushion took me about 15 minutes to make.

Here are the steps
1. Draw out patterns on 2 pieces of fabric and cut out
2. Machine sewed the right sides together leaving 2.5 inches of one side unsewn
3. Flip the cushions inside-out
4. Stuff with Cluster Stuff or Polyfiber Fill
5. Ladder stitch the remaining seam and ALL DONE!

I think they make an adorable addition to the home, what do you think?

2014-01-06 01.54.36 21389045897488.jpg

New Home!

Hi! 

So... I moved to LA! Yayyyy!

It's something we've always wanted to do, and though I'll miss my friends in SF dearly, I'm excited to be in a place where I'm surrounded by creativity and great artists day in and day out. 

1491614_10104013343728930_519414440_n.jpg

One of the first things I did as we started unpacking was set up the Christmas tree. Cats immediately took a liking to it. 

1482994_10104033247890830_439949644_n.jpg

Unpacking is fun and terrible at the same time. I always love the nesting process, but I feel like you find things you have no idea what to do with and you always end up just throwing away a lot. We're slowly getting settled into our beautiful new apartment, and finally got a chance to put some of our fave artwork up.

1507047_10104036377948170_1770360043_n.jpg

And because I'm crazy, I put some of the cardboard boxes to good use making my own little mid century Christmas village. Mr. Rockit says it looks like the Simpson's homes. I'm ok with that.

Though I'm still unpacking and settling in, I'm doing a little Christmas craft here and there, do you have any favorite holiday diys?

Cupcake Costume!

cupcaketop.png

Hey friends!
Hopefully you've found your way to Betty Rockit's new home.  
What better way to celebrate than with HALLOWEEN COSTUMES! 

This year I wanted to be a cupcake, naturally.
Here's a little sneak peek at my cupcake costume top I made from scratch, I remembered to take photos along the way this time, so a tutorial will be coming up soon!

What is your dream costume you'd like to learn how to make? 

Dino Days Are Over

I got a chance to sit and paint a little bit yesterday, a much needed break from my computer slaved days writing copy for my marketing job. 
I'm making a series of dinosaur paintings ad creating a mini prehistoric gallery at my place. Here's one of my derpy dinosaurs I painted just yesterday. What do you think? 

Paint By Numbers

Awhile back Mr. Rockit got a few vintage paint by numbers for me to play with, but I hadn't gotten around to painting them.

One slow Saturday a couple weeks ago I broke them out and started to work with it.

As the paint is probably over 20 years old, it was all dry and brittle and unusable, but I used the colors as guides and created my own with acrylic paint.


Looking forward to showing you my final product!

A return from hiatus

I have lost many followers over the last couple of years, and it's because I haven't POSTED ANYTHING!
Well I'm here to say hello, I'm back, and I mean to upkeep this blog once again.
2013!

Right now I'm enjoying a lovely holiday break in Michigan, and then it's back to San Francisco for me.

Stay tuned for ACTUAL crafty type updates. What? No way. Yes.

For now enjoy these winter wonderland photos from my instagram.

Snowy backroads!

Firewood stacked up in the snow.

Hello Kitty Headband


Annd my first project back is a Hello Kitty headband.
Big surprise!

I came across this adorbz costume but it's like $50 and I figured I'd try making it.

At the least I could make the headband.

I remembered to take photos during the process this time so I can actually post a quick and easy tutorial. Character headbands like this are great for when you don't want to wear a full out costume to work or to school. Or just for fun I guess. 

If you're feeling REAL ambitious you can always go for this costume 

And I also think I'll definitely be making Optimus this little number :D


Back!

It's been forever and a day since I posted last (July 12)
and a lot happened.

I got married. It was fun. Here a couple of photos.
That dress was so heavy I had to change out of it into a little reception dress.


1: husband and I walking into reception
2: newlywed photobooth
3: mom and bro in photobooth

So now that the wedding is over, I have nothing to stress about and will be free to craft and post once again. 

I'll do a full wedding post when I have more photos. :)